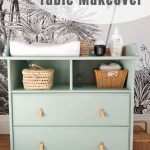
How to paint and upgrade your baby changing table. Make your IKEA furniture unique!
I’m so excited to share with you this IKEA changing table makeover. This piece of Ikea furniture went from boring to stylish. It would be the perfect addition to a gender-neutral or baby boy nursery.
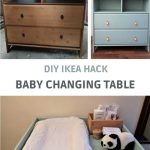
When scrolling through Facebook marketplace, I spotted this Leksvik Ikea changing table. It is a wooden chest of drawers with a removable top to use it as a baby changing station. When your child does not wear diaper anymore and you do not need a changing table, it may be converted into a regular dresser. You just need to remove the top wooden piece. Selling price was 25 €, quite fair. No need to go further, I decided to buy it. After a good makeover, this changing table would be both functional and beautiful, I knew it.

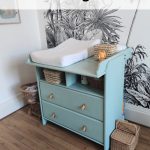
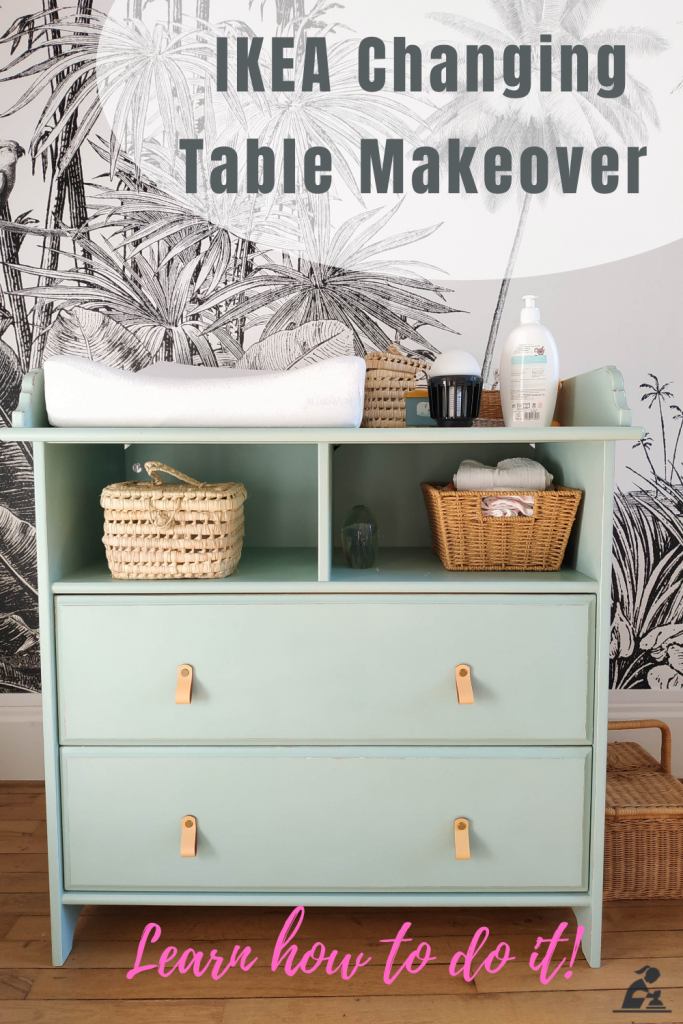
Here is how it looks after painting it in green. What do you think?
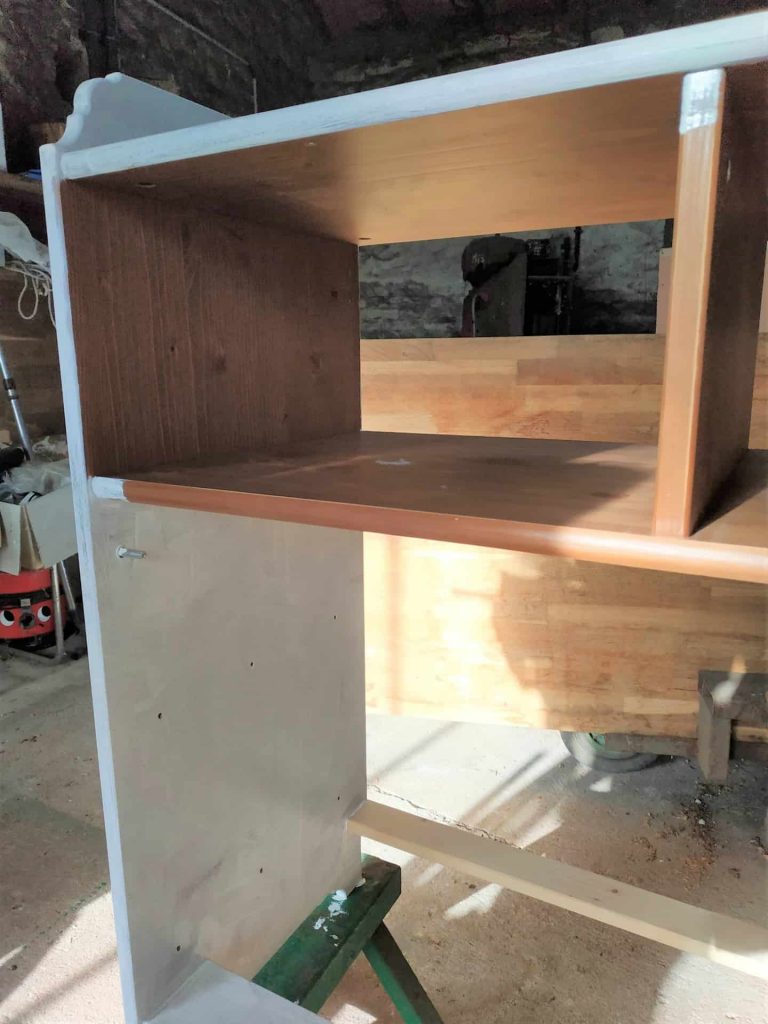
This piece of furniture is not so big. I managed to load it into my car trunk without dismantling. You can see the changing table part on the top of the chest of drawers.

Although it was a piece of furniture from Ikea, it is made of solid pine wood. Sanding and painting it should not be an issue.
Table of Contents
Supply list for the IKEA Changing Table Makeover
- 220-grit Sandpaper
- Wood filler
- Paint brush
- Small paint roller brush
- Primer paint – If you use chalk paint, you don’t really need to prim.
- Green paint: For this makeover, I used “Vert Reposant” from Algo paint Company. The color is very similar to Mint Julep, a light and bright green from Dixie Belle Paint Company. You may also like this light green called “Terre Verte” by Renaissance.
- Leather Drawer Pulls
- Polycryclic – Matte finish
Dismantling and Sanding the Baby Changing Unit
First, I removed the drawers, the drawers slide and the back panels. Removing the back panels and the drawers’ slides would facilitate the painting job.

As with many Ikea furniture, the back panels are nailed on using small nails. To remove the nails, I used a flat screwdriver and a hammer (Link to a YouTube video tutorial here). Then I used a clamp to remove the nails. Take your time and be careful, you don’t want to ruin the panels.
To remove the drawers’ slide, you just need a screwdriver.
I stored the nails and screws in a small box for later. I use plastic boxes for food delivery (after cleaning them, hem).
Since the baby changing cabinet was sealed with acrylic lacquer, I slightly sanded the entire piece with a 220-grit sandpaper. Sanding allows the paint to adhere better to that piece of furniture. It is important. Your makeover will last longer.
I removed the actual pulls and filled the holes with wood filler.

Then I carefully cleaned the changing table using a soft and damp cloth, making sure to remove all sanding dust. I let the changing table dry overnight before painting.
Painting the IKEA Changing Table
Primer paint

My sister chose a bright light green to paint this changing unit. A changing unit is a frequently used piece of furniture. My paint job should be impact resistant. You don’t want the paint to chip or peel after a few months of use. The paint she chose was not chalk paint. So, I decided to apply a primer paint before applying the green paint.
Primer paint is also good to cover stains and prevent them for bleeding through newly applied layers of paint.

Green Paint
I applied one coat of primer and two coats of green paint. The first coat of paint was applied after I let the primer dry over the night. I allowed the first coat of paint to dry for about 3 to 4 hours before applying the second coat.


Painting Using Paint Brush and Paint Roller Brush
I used a paint brush to paint all bends and edges. To paint the large flat areas of the piece, I used a small roller brush. A roller speeds up the process of painting and allows you to get a smoother finish.
Distressing
I asked my sister whether she wanted the changing table to be distressed or not. She likes furniture that looks antique. So I went for it. I grabbed a piece of 220-grit sandpaper and lightly distressed the edges of the table and drawers.

Applying Topcoat and Adding New Pulls
To seal the piece, I choose to use Polyacrylic. Since it is a changing table, it will be used several times per day. There might be water (and God knows what else) spread on it. Topcoat should be waterproof and shock-proof, that’s why I chose Polyacrylic over wax.
I lightly sanded the entire piece of furniture with a 220-grit to give it a smoother finish. I cleaned it with a soft cloth to remove the dust and used a soft brush to apply the poly. One coat of polyacrylic was enough.

I put the drawers’ slides back in place.
Lastly, I added new pulls on the drawers’ front. My sister chose leather handles in natural color.

Here is the result after the makeover! My sister loved the way the changing unit turned out! I love this soothing pastel green. It’s the perfect color for a gender-neutral nursery.


Paint is really a good way to customize your IKEA furniture. I love this green so much!
Let me know what you think of this makeover or feel free to ask any question.
Happy Makeover!
Lucie
PIN AND SHARE!

Looking for more furniture makeovers ideas?
See this Dresser Turned into a Printer Station and this Dining Room Table Makeover


